Why You’ll Love This Gluten Free Pie Crust Recipe
You’ll love this gluten-free pie crust recipe because it’s simple and delicious. I’ve made it countless times, and it never disappoints.
The best part? You don’t need any fancy ingredients or equipment. Just mix the dry ingredients, blend in the butter or coconut oil, and add ice water. It comes together in minutes!
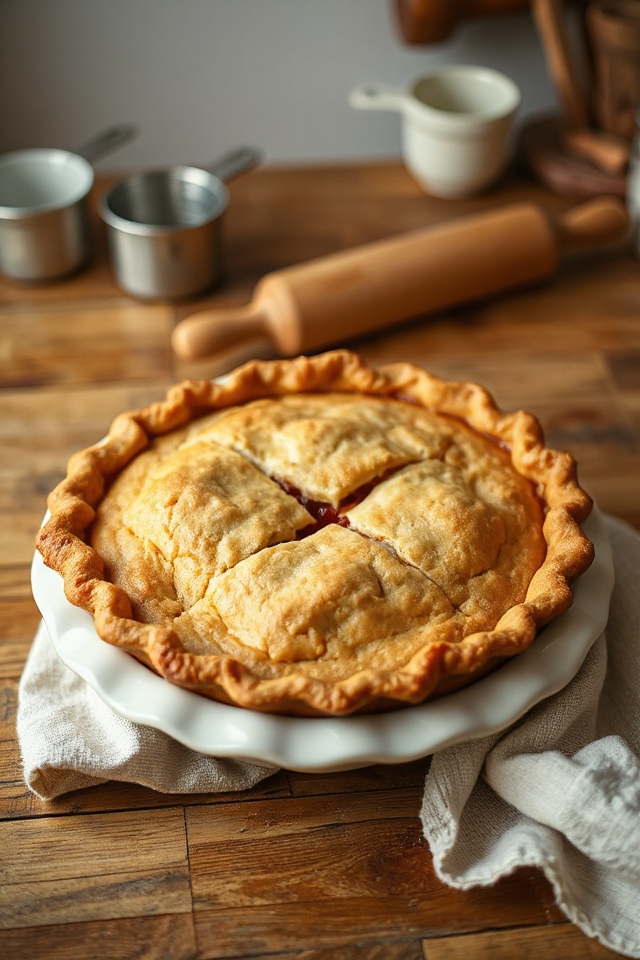
I appreciate how versatile it is, working well with both sweet and savory fillings. Plus, it has that perfect flaky texture that will leave everyone asking for seconds.
Trust me, once you try it, you’ll want to make this gluten-free crust for every pie night!
Ingredients of Gluten Free Pie Crust
When it comes to whipping up a delicious gluten-free pie crust, having the right ingredients is key. This recipe is invigoratingly straightforward, but each component plays a crucial role in creating that perfect flaky texture we all love.
You’ll find that the combination of rice flour and tapioca starch isn’t just gluten-free but also gives the crust a delightful lightness. Plus, the butter or coconut oil? That’s what makes it rich and indulgent.
Here’s what you’ll need for this gluten-free pie crust:
- 1 cup rice flour
- 2 tablespoons tapioca starch
- 1 tablespoon sugar
- 1/4 teaspoon salt
- 1/2 cup butter or 1/2 cup coconut oil
- 1/4 cup ice water
Now, let’s chat a bit about the ingredients. If you’re wondering whether to go with butter or coconut oil, I say it really depends on your mood (and dietary needs).
Butter will give you that classic flavor that’s hard to beat, while coconut oil can lend a subtle tropical twist to your crust. And don’t worry if you don’t have tapioca starch on hand; some folks use cornstarch as a substitute, and it works just fine.
Just remember to keep your water ice-cold to help the dough stay nice and flaky, because who wants a tough crust? Definitely not me.
How to Make Gluten Free Pie Crust
Making a gluten-free pie crust might sound a little intimidating at first, but trust me, it’s easier than you might think. You’re going to start by grabbing your mixing bowl and adding 1 cup of rice flour, 2 tablespoons of tapioca starch, 1 tablespoon of sugar, and 1/4 teaspoon of salt. Mix those dry ingredients well—this is where the magic begins. You want to make sure there are no clumps hanging around, just a smooth, harmonious blend, like an indie band that’s finally found its sound.
Now, here comes the fun part. Get yourself 1/2 cup of butter or coconut oil, depending on what you decided to use (I’m a butter fan myself, but coconut oil has its moments too). Use a mixer to blend it in with your dry ingredients until everything is combined and you have a crumbly texture. It should have a consistency that feels almost like sand.
Then, you’ll want to slowly add in 1/4 cup of ice water. Seriously, keep that water ice-cold; it’s essential for keeping your crust flaky. Whip it up until it all comes together into a dough. If it feels a bit too sticky, sprinkle in a tad more rice flour until it’s manageable.
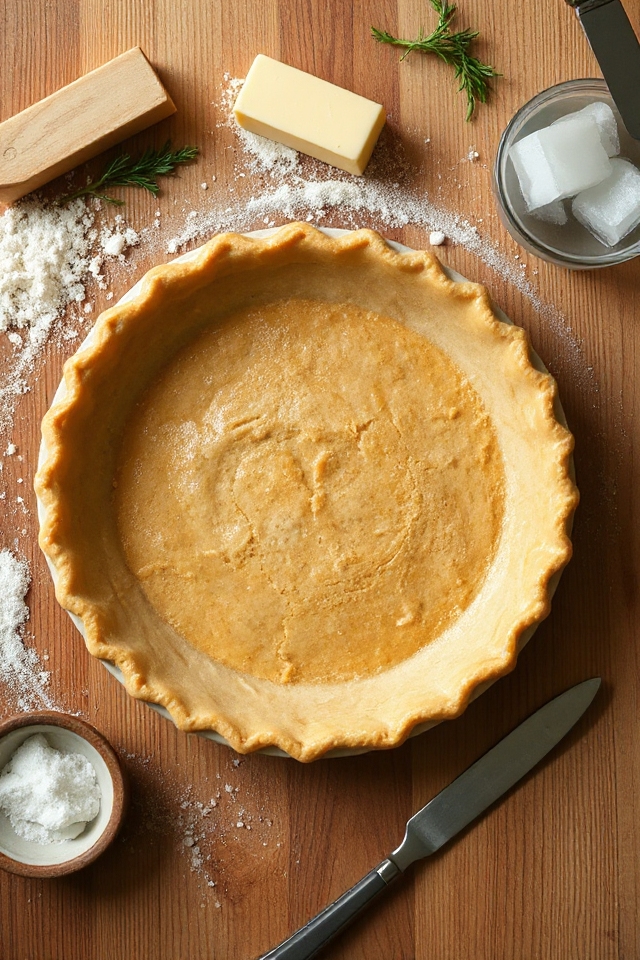
Finally, pour your beautiful dough into a greased pie plate. Now, this is where you can express your inner artist—use your fingers to spread the dough evenly across the bottom and up the sides of the plate. No fancy tools needed here; you’re just creating a cozy little home for whatever delicious filling you have in mind.
Once that’s done, you can pop it in the fridge for about 30 minutes to let it rest. This helps the crust firm up and will help it hold its shape when you bake it. And just like that, you’ve made a gluten-free pie crust. Who knew it could be so satisfying? Now go ahead and fill it with your favorite pie filling, and let the baking commence!
Gluten Free Pie Crust Substitutions & Variations
Once you’ve mastered the basic gluten-free pie crust, it’s fun to explore different substitutions and variations to suit your taste or dietary needs.
For a nuttier flavor, try almond flour instead of rice flour. You can swap coconut oil for butter for a dairy-free option.
If you need a lower-carb crust, consider using a blend of almond flour and coconut flour. Adding spices like cinnamon or nutmeg can elevate sweet pies, while herbs can enhance savory ones.
Experiment with different sweeteners too; honey or maple syrup could replace sugar. Your creativity can lead to delicious new variations!
Additional Tips & Notes
While preparing your gluten-free pie crust, it’s important to keep a few tips in mind for the best results.
First, make sure your ingredients are cold; this helps achieve a flaky texture. I like to chill the mixing bowl and utensils beforehand.
Next, don’t overmix the dough—just combine until it’s smooth. If it feels too crumbly, add a little more ice water, one tablespoon at a time.
Finally, let your crust rest in the fridge for at least 30 minutes before baking. This step helps prevent shrinkage.
Trust me, these tips make a noticeable difference in your pie!