Why You’ll Love This Gluten Free English Muffins Recipe
When you try this gluten-free English muffins recipe, you’ll discover just how easy it’s to enjoy a delicious breakfast without gluten.
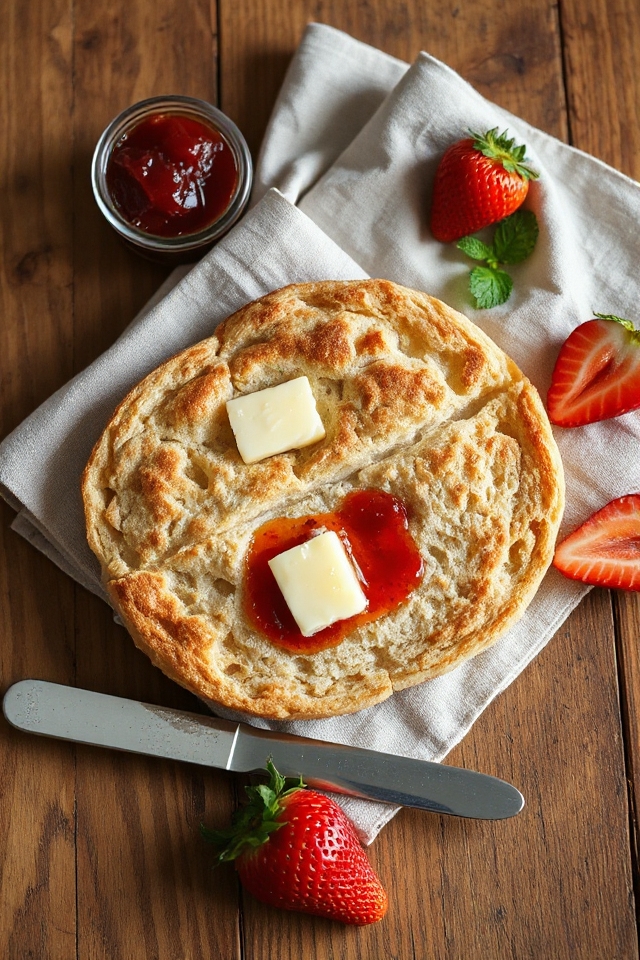
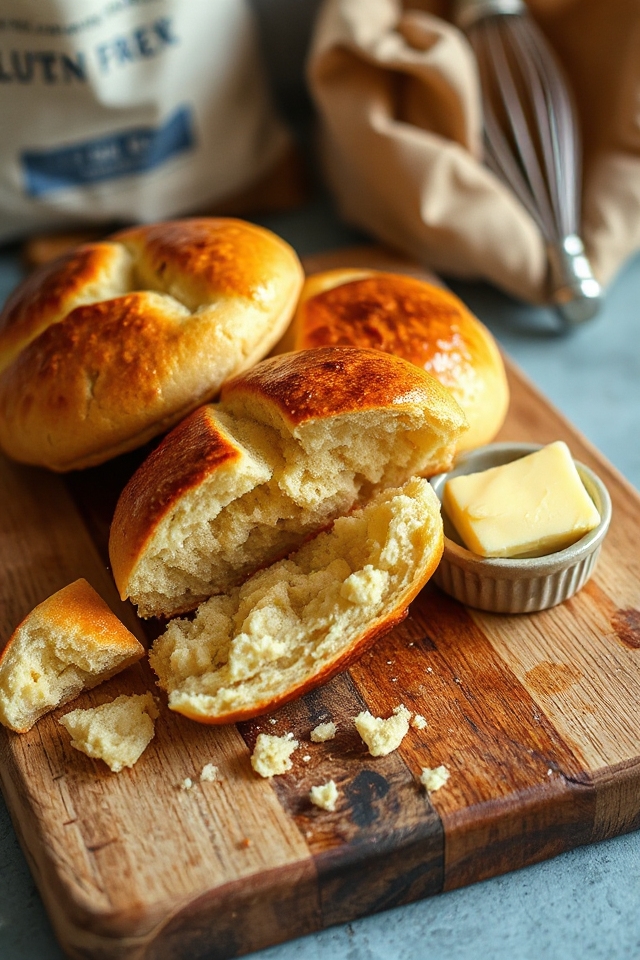
I love how these muffins come out perfectly golden and fluffy, making them a fantastic choice for any morning. They’re incredibly versatile, too! Whether you’re spreading butter, jam, or avocado on top, each bite is satisfying.
Plus, knowing I can whip these up without worrying about gluten makes breakfast stress-free. I also appreciate that they freeze well, so I can always have a tasty option ready to go.
Trust me, you’ll want to make these again and again!
Ingredients of Gluten Free English Muffins
When it comes to making gluten-free English muffins, having the right ingredients is key to achieving that perfect fluffy texture and delicious flavor. Fortunately, the list isn’t too intimidating, and you might even find that you have a few of these ingredients in your pantry already.
Trust me, you’ll be pleasantly surprised at how simple it can be to whip up a batch of these delightful muffins for breakfast. They’re not just gluten-free; they’re packed with flavor and texture that everyone can enjoy, gluten-free or not.
Here’s what you’ll need to gather:
- 1/3 cup warm water (about 105 degrees F)
- 1 teaspoon sugar
- 1 tablespoon active dry yeast
- 2 1/4 cups gluten-free flour blend (I recommend Pamela’s Gluten-Free Bread Mix and Flour Blend)
- 1 1/4 cups buckwheat flour
- 1/3 cup nonfat dry milk powder
- 1 teaspoon salt
- 1/2 teaspoon xanthan gum
- 6 tablespoons vegetable shortening (room temperature, cut into small pieces)
- 3 tablespoons honey or agave nectar
- 1 egg (room temperature, beaten)
- 1 cup warm water (also about 105 degrees F)
Now, let’s talk a little bit about the ingredients. If you’re new to gluten-free baking, you might be wondering what the heck xanthan gum is. It’s a common ingredient that helps mimic the elasticity and texture you get from gluten.
You can’t totally skip it if you want that perfect muffin feel. Plus, the combination of the gluten-free flour blend and buckwheat flour gives these muffins a unique flavor profile that you just wouldn’t get from regular flour.
And don’t be afraid to experiment a little! If you prefer agave nectar over honey or have a different gluten-free flour blend you enjoy, go for it. Cooking is all about finding what works best for you, right?
How to Make Gluten Free English Muffins
Making gluten-free English muffins is a delightful adventure that begins with some simple steps. First things first, grab a small bowl and mix together 1/3 cup of warm water (aim for that sweet spot of about 105 degrees F), 1 teaspoon of sugar, and 1 tablespoon of active dry yeast. Just let it sit for a few minutes until it gets all bubbly and frothy. It’s almost like a mini science experiment, and who doesn’t love a bit of kitchen magic?
While that’s working its charms, you can prep the dry ingredients. In your food processor, toss in 2 1/4 cups of gluten-free flour blend (I highly recommend Pamela’s Gluten-Free Bread Mix, it’s a game changer), 1 1/4 cups of buckwheat flour, 1/3 cup of nonfat dry milk powder, 1 teaspoon of salt, and 1/2 teaspoon of xanthan gum. Give it a few pulses until everything is combined nicely.
Now, back to the yeast mixture—once it’s bubbly, add it to the dry ingredients along with 6 tablespoons of vegetable shortening (make sure it’s at room temperature and cut into small pieces), 3 tablespoons of honey (or agave nectar, if that’s your jam), and 1 beaten egg. Slowly incorporate 1 cup of warm water, mixing until you’ve got a thick, muffin-like batter. It might look a bit different than traditional dough, but that’s the beauty of gluten-free baking—embrace the uniqueness.
Preheat your oven to 350 degrees Fahrenheit. Meanwhile, take some non-stick cooking spray and coat your English muffin rings before lightly dusting them with additional flour blend. Place the rings on a cookie sheet lined with parchment paper (trust me, this makes cleanup a breeze). Scoop the batter into the rings, smoothing the tops gently with the back of a spoon. Let them rest in a warm spot for about 15 minutes.
Now, it’s time for the fun part. Slide that cookie sheet into the oven and bake for 10 minutes. After that, gently flip the rings with a spatula—this is where the magic happens, as it helps the muffins rise beautifully and cook evenly. Bake them for another 10 to 15 minutes until they’re golden and cooked through.
Once they’re ready, let them cool slightly before splitting them open with a fork (this is the traditional way, and it gives you those lovely nooks and crannies). Serve them warm, or if you’re feeling extra organized, wrap them individually and freeze for later. Just remember, when you’re ready to enjoy them again, a quick toast will bring them back to life. Isn’t that just the best? Happy baking!
Gluten Free English Muffins Substitutions & Variations
Although sticking to a traditional recipe is great, experimenting with substitutions and variations for gluten-free English muffins can lead to some delicious surprises.
I love swapping out gluten-free flour blends for almond or coconut flour to give a nutty flavor. You can also try adding spices like cinnamon or nutmeg for a warm twist.
If you’re dairy-free, use almond milk instead of nonfat dry milk powder. Want a savory kick? Toss in some herbs or cheese.
You can even sweeten your muffins with maple syrup instead of honey. The possibilities are endless, and each variation can be a delightful treat!
Additional Tips & Notes
To guarantee your gluten-free English muffins turn out perfectly every time, I recommend paying close attention to your ingredient measurements and mixing techniques.
Make sure your water is at the right temperature; too hot can kill the yeast, and too cold won’t activate it. I find that letting the dough rest in a warm place helps it rise better.
Experiment with different gluten-free flour blends, as they can affect texture. Finally, don’t skip the flipping step while baking; it’s essential for even cooking.
Enjoy your muffins fresh, or freeze them for a quick breakfast option later!