Why You’ll Love This Gluten Free White Bread Recipe
If you’ve been searching for a gluten-free bread that doesn’t compromise on taste or texture, you’re in for a treat. This recipe delivers a soft, fluffy loaf that rivals traditional bread.
I love how easy it’s to make, using simple ingredients that blend seamlessly. The aroma while it bakes fills my kitchen with warmth, making it impossible to resist.
Plus, this bread holds up beautifully for sandwiches or toasting. You’ll appreciate the satisfying crunch of the crust, paired with a tender interior.
Once you try it, you’ll find yourself reaching for this recipe again and again. Enjoy every bite!
Ingredients of Gluten Free White Bread
When you’re ready to whip up some delicious gluten-free white bread, the first step is gathering your ingredients. The beauty of this recipe is that it doesn’t call for any weird or hard-to-find items, so you can feel like a rock star baker without breaking the bank or your sanity. Most of these ingredients are probably already hanging out in your pantry, waiting for their moment in the spotlight.
So, let’s get to it, shall we?
Here’s what you’ll need to make this delightful gluten-free white bread:
- 2 cups gluten-free flour (check out recipe 110497 for a great mix)
- 1 1/2 teaspoons xanthan gum
- 1/2 teaspoon salt
- 1 teaspoon egg substitute (or you can use a regular egg if you prefer)
- 1/2 teaspoon unflavored gelatin
- 2 tablespoons sugar
- 2 1/4 teaspoons dry active yeast
- 2 small eggs (or 1 egg plus one egg white)
- 3 tablespoons butter, softened
- 1 teaspoon vinegar (or a dough enhancer)
- 1 cup warm water
Now, before you start tossing everything together, let’s chat about a few things.
First off, gluten-free flour can be a bit finicky. Not all brands are created equal, so if you find one you love, stick with it!
And that xanthan gum? It’s a little powerhouse that helps give your bread that elasticity and chewiness. If you’re using eggs, they bring moisture and richness to the mix, but if you’re opting for the egg substitute, don’t worry; it will still turn out delicious.
Finally, make sure that your yeast is fresh – nothing worse than excitedly mixing your ingredients only to find out your bread isn’t rising because the yeast decided to take a nap. Trust me, I’ve been there, and it’s a sad day when you’re left with a dense loaf instead of fluffy goodness.
How to Make Gluten Free White Bread

Making gluten-free white bread can feel like a culinary adventure, and trust me, the end result is totally worth it. To kick off this baking journey, gather your ingredients. You’ll need 2 cups of gluten-free flour, which is like the foundation of our bread castle, and don’t forget the 1 ½ teaspoons of xanthan gum; it’s the secret agent that gives our bread that chewy texture. Grab ½ teaspoon of salt, 1 teaspoon of egg substitute (or a regular egg if you’re feeling fancy), and ½ teaspoon of unflavored gelatin. Toss in 2 tablespoons of sugar, which sweetens the deal, and 2 ¼ teaspoons of dry active yeast to help everything rise like a well-deserved loaf should. Oh, and let’s not skip the 2 small eggs (or 1 egg plus an egg white), 3 tablespoons of softened butter, 1 teaspoon of vinegar (or a dough enhancer), and finally, 1 cup of warm water to bring it all together.
Now, let’s get mixing. Start by preheating your oven to 400 degrees F because we want it hot and ready for our bread masterpiece. In a large mixing bowl, combine all your dry ingredients, minus the yeast. You can keep this mix in a ziplock bag for future baking sessions, which is a great way to save time.
In a heavy-duty mixer, whisk those 2 small eggs and your 1 teaspoon of vinegar (or dough enhancer) together, and then add in the 3 tablespoons of softened butter. Now, here comes the fun part—slowly pour in about ¾ of that warm water. Next, mix the dry ingredients, including the yeast, into your wet mixture on low speed. You’re aiming for a thick cake batter consistency, so feel free to adjust with more warm water if it’s looking too dry. Once that’s done, crank up the mixer to high and let it beat for a solid 4 minutes.
Now, here’s where the magic happens. Turn that dough out into a greased 8 ½ x 4 ½ bread pan (don’t forget to flour it with rice flour to prevent sticking). Cover it with plastic wrap and find a cozy spot for it to rise, like on top of your oven while it’s preheating. You want your dough to double in size, which should take about 30 to 60 minutes.
Once it’s puffed up and ready, pop it into your preheated oven for 50 to 60 minutes for a loaf, or 30 to 40 minutes if you’re making rolls. If you fancy a lighter crust, cover it with aluminum foil after the first 10 minutes; for a medium crust, wait 20 minutes. When it’s golden brown and smells heavenly, take it out and let it cool for about 20 minutes before slicing.
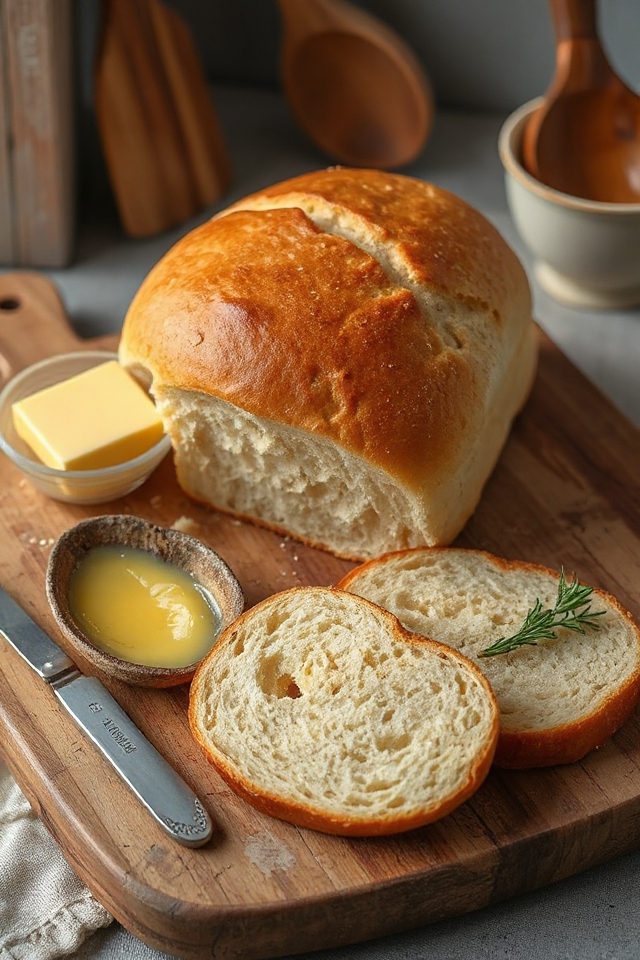
Trust me, this cooling time is vital; you want those slices to be perfect, not a crumbly disaster. So, grab your favorite butter (or jam if you’re feeling wild), and enjoy your homemade gluten-free white bread.
Gluten Free White Bread Substitutions & Variations
While I love the classic gluten-free white bread recipe, there are plenty of substitutions and variations you can try to customize it to your taste or dietary needs.
For a nut-free option, substitute almond flour with a blend of gluten-free all-purpose flour and oat flour. If you’re vegan, replace eggs with flaxseed meal or chia seeds mixed with water.
You can also experiment with different fats, like coconut oil instead of butter, for a unique flavor. Add herbs or spices like rosemary or garlic for an extra kick.
Your imagination is the limit when it comes to creating delicious variations!
Additional Tips & Notes
To guarantee your gluten-free white bread comes out perfect every time, I recommend measuring your ingredients accurately and using a kitchen scale for the best results.
Always make sure your yeast is fresh; it’s essential for a good rise. If you’re in a humid environment, you might need to adjust your flour slightly.
Don’t skip the resting time after mixing; letting the dough rise properly is key. For a softer crust, brush the top with melted butter before baking.
Finally, let the bread cool completely before slicing; this helps maintain its structure and texture. Enjoy your baking!