Why You’ll Love This Gluten Free Banana Bars Recipe
If you’re looking for a delicious and satisfying treat, you’ll love this gluten-free banana bars recipe.
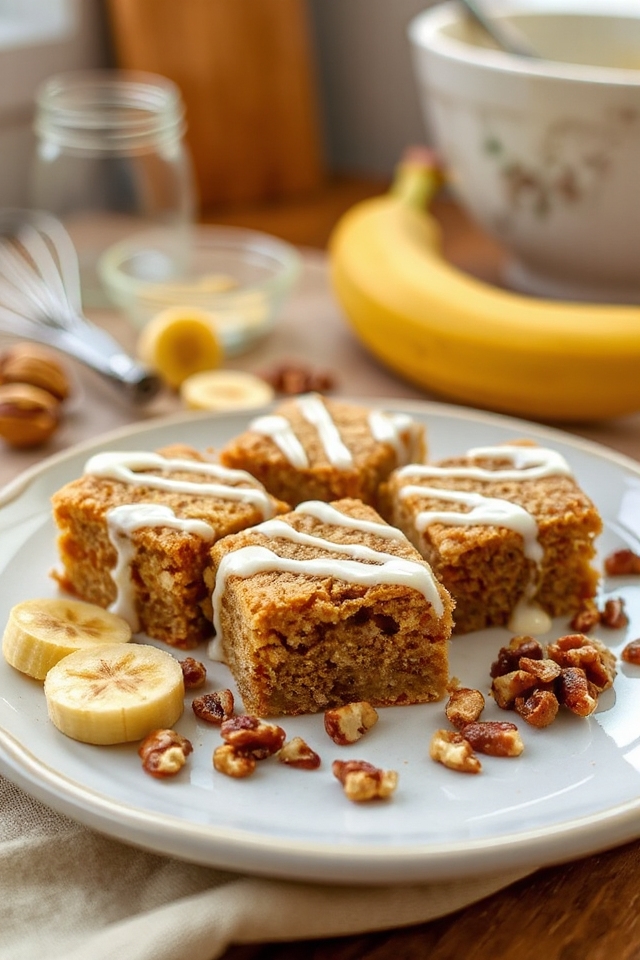
These bars are incredibly moist and bursting with the sweet flavor of ripe bananas. I can’t get enough of their chewy texture, especially with the added crunch from walnuts.
Plus, they’re simple to make, so I don’t spend hours in the kitchen. The aroma that fills my home while they bake is pure bliss!
Drizzling them with icing takes them to another level. Whether for breakfast or dessert, these banana bars are a guilt-free indulgence that everyone will enjoy.
Trust me, you’ll want seconds!
Ingredients of Gluten Free Banana Bars
When it comes to baking something that’s not only delicious but also gluten-free, these gluten-free banana bars are a fantastic option. They’re super easy to whip up and use simple ingredients that you probably already have in your pantry. The combination of ripe bananas and a touch of sweetness from brown and white sugar makes for a moist and flavorful snack that you can enjoy anytime.
Plus, the added walnuts give it that delightful crunch that you’ll absolutely love. Ready to explore the ingredient list? Here we go!
- 3/4 cup rice flour
- 1/4 cup potato starch, plus 2 tablespoons potato starch
- 2 tablespoons tapioca flour
- 1/4 teaspoon xanthan gum
- 2 teaspoons baking powder
- 1/4 teaspoon salt
- 1 cup mashed ripe banana (about 2 bananas)
- 3/4 cup brown sugar
- 1/3 cup white sugar
- 1/4 cup buttermilk
- 1 egg
- 1 tablespoon vegetable oil
- 2 teaspoons vanilla extract
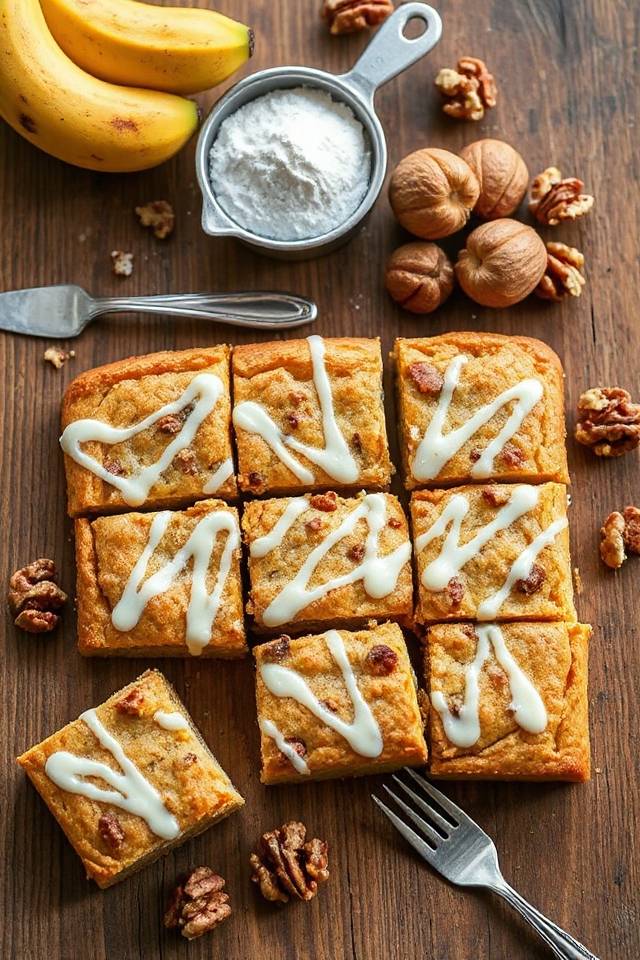
- 1/2 cup chopped walnuts
- 1/4 cup icing sugar
- 2 teaspoons milk or juice (for drizzling)
Now, let’s chat a bit about these ingredients. First off, if you’re new to gluten-free baking, you might be wondering about some of these flours. Rice flour is a great base, and it’s widely available.
Potato starch and tapioca flour help give the bars a nice texture, so don’t skip those. Xanthan gum is a game-changer in gluten-free recipes, acting as a binder to keep everything together.
As for the bananas, the riper they are, the sweeter your bars will be. So, if your bananas are starting to turn brown, don’t toss them; they’re perfect for baking.
Also, if you’re not a fan of walnuts, feel free to swap them out for your favorite nuts or even chocolate chips. The beauty of these bars is how versatile they can be!
How to Make Gluten Free Banana Bars
Making gluten-free banana bars is like taking a delightful trip into the world of baking—without having to worry about gluten. To get started, preheat your oven to 350 degrees Fahrenheit. While that’s warming up, grab a 9-inch square pan and grease it with shortening or a quick spray of vegetable oil. Trust me, you don’t want your delicious creation to stick to the pan like it’s trying to hold on for dear life.
Now, let’s get to the good stuff. In a small bowl, whisk together 3/4 cup of rice flour, 1/4 cup of potato starch (plus 2 extra tablespoons), 2 tablespoons of tapioca flour, 1/4 teaspoon of xanthan gum, 2 teaspoons of baking powder, and 1/4 teaspoon of salt. This mix is your dry crew, and they’re essential for giving your bars that perfect texture. Set that aside and grab your mixing bowl.
In it, beat together 1 cup of mashed ripe banana (which is about 2 bananas, just in case you were wondering) with 3/4 cup of brown sugar and 1/3 cup of white sugar. You want this mixture to be well combined, almost like a sweet, sticky hug. Then, add in 1/4 cup of buttermilk, 1 egg, 1 tablespoon of vegetable oil, and 2 teaspoons of vanilla extract. Beat that all up until it’s smooth and lovely.
Once your wet ingredients are looking good, it’s time to bring in the dry ingredients. Gently stir them into the wet mixture until just blended—be careful not to overmix, or your bars will be tougher than a day-old loaf of bread. Fold in 1/2 cup of chopped walnuts for that delightful crunch, and then spoon the batter into your prepared pan.
Now, the waiting game begins. Bake for about 25 to 30 minutes, or until a tester comes out clean. Once they’re out of the oven, let them cool in the pan for a bit. In the meantime, mix together 1/4 cup of icing sugar with 2 teaspoons of milk or juice to create a drizzle.
Once your bars are cool, drizzle that sweet goodness over the top in a zigzag pattern. And there you have it—your gluten-free banana bars are ready to be cut into 12 delicious pieces. Enjoy!
Gluten Free Banana Bars Substitutions & Variations
While I love the classic gluten-free banana bars recipe, there are plenty of ways to customize it to suit your taste or dietary needs.
You can swap the rice flour for almond flour or coconut flour for a different texture. If you’re dairy-free, use almond milk instead of buttermilk.
For added flavor, try incorporating spices like cinnamon or nutmeg. You might also experiment with mix-ins like chocolate chips or dried fruit.
If you prefer a sweeter bar, increase the sugar or add a touch of honey. The possibilities are endless, so feel free to get creative!
Additional Tips & Notes
To achieve the best results with your gluten-free banana bars, I recommend using overripe bananas, as they offer the most sweetness and flavor.
If you want a richer taste, consider adding a pinch of cinnamon or a splash of maple syrup. Remember to check your baking time; every oven varies, so keep an eye on those bars!
For extra texture, try folding in chocolate chips or dried fruit. After cooling, store them in an airtight container to maintain freshness.
Finally, these bars freeze beautifully, so don’t hesitate to make a double batch for later indulgence! Enjoy your baking!