Why You’ll Love This Gluten Free Cream Puffs Recipe
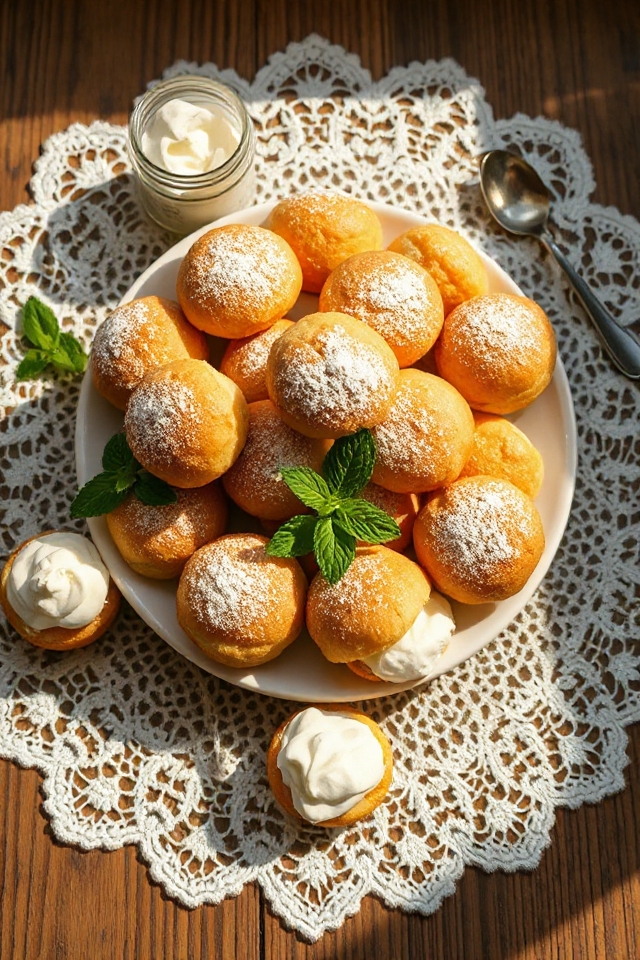
Whether you’re gluten-sensitive or simply looking for a delicious treat, you’ll love this gluten-free cream puffs recipe! These little delights are light, airy, and filled with fluffy whipped cream that melts in your mouth.
I adore how easy they’re to make, perfect for impressing guests or satisfying a sweet craving. Plus, they’re a fantastic way to showcase your baking skills without the gluten.
The best part? They look stunning on a dessert table! Trust me, once you try these cream puffs, you’ll wonder how something so simple can bring so much joy.
Get ready to indulge in a gluten-free paradise!
Ingredients of Gluten Free Cream Puffs
Making gluten-free cream puffs is a delightful adventure that brings joy to both the baker and the eater. The ingredients are simple, yet they come together to create a treat that feels so luxurious. You might be surprised how easy it’s to whip up these little clouds of goodness, even if you’ve never baked anything gluten-free before.
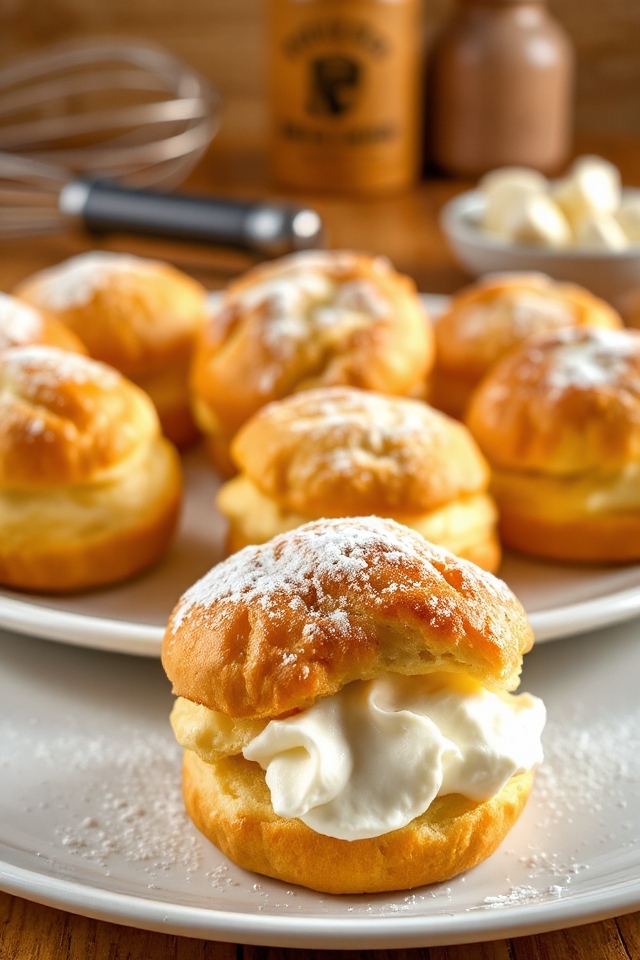
Just reflect on it: crisp outer shells filled with light and fluffy whipped cream. What’s not to love? So, if you’re ready to plunge into this delicious world, let’s check out what you’ll need to gather before the magic begins.
Ingredients for Gluten-Free Cream Puffs:
- 1 cup water
- 4 tablespoons butter
- 1/4 teaspoon iodized salt
- 1 cup gluten-free all-purpose flour (like Tom Sawyer’s GF All-Purpose Flour)
- 4 eggs
- 1 egg yolk, lightly beaten
- 2 tablespoons milk
- 2 cups whipping cream (I used Cool Whip for ease)
- Powdered sugar for dusting
Now, here’s a little something to reflect on about the ingredients. First off, when choosing your gluten-free flour, make sure it’s a blend that works well for baking. Some brands can be a bit gritty or dense, which isn’t what we want for our light and airy cream puffs.
And while I opted for Cool Whip for speed, feel free to whip your own cream for a fresher taste. It might take an extra minute or two, but oh, the satisfaction of whipping it by hand… just imagine the arm workout. Plus, you can control the sweetness!
How to Make Gluten Free Cream Puffs
Making gluten-free cream puffs might sound a bit intimidating, but trust me, it’s easier than it seems! First off, you’ll want to preheat your oven to 375°F (that’s around 190°C for my metric friends). Grab a large cookie sheet and give it a spritz of cooking spray—this is important so our little puffs can rise without sticking like they’re in a game of hide and seek.
Now, let’s get to work on that dough. In a heavy saucepan, pour in 1 cup of water and toss in 4 tablespoons of butter, cut into small pieces. Add 1/4 teaspoon of iodized salt for flavor. Over medium-low heat, melt the butter while keeping an eye on the water. We want it just about to boil—not a full-on rolling boil, mind you. Once you see those bubbles, remove it from the heat.
Now, here comes the fun part. Add 1 cup of gluten-free all-purpose flour all at once. You’ll want to stir vigorously with a wooden spoon—think of it as a mini workout for your arms. Keep at it until the dough forms a ball and the bottom of the pan has a film of flour. Let it rest for about five minutes. This is a good time to reflect on the miracle of dough-making or maybe just grab a quick snack.
After the rest, it’s time to introduce the eggs. You’ll need to beat in 4 eggs, one at a time. I highly recommend using a food processor for this part; it makes the job so much easier and less messy. The dough should be stiff but smooth, like a cloud that’s ready to take flight.
Next, scoop out the dough using 1/4 cupfuls and place them three inches apart on your baking sheet. If you’re feeling fancy, you can use a pastry bag or even a Ziploc bag with the corner snipped off to pipe them into neat little mounds. Mix together 1 egg yolk and 2 tablespoons of milk, then brush this glaze over the puffs to give them that beautiful golden color.
Bake them for about 35 minutes (or 15 for mini puffs) until they’re puffed up, golden brown, and firm. When they’re done, let them cool on wire racks, pricking each puff with a toothpick to release steam. This part is essential; if you fill them while they’re still warm and soft, they might collapse or turn soggy.
Once they’re cool, cut off the tops, scoop out a bit of the moist dough (don’t worry, you can eat it later), and fill them with 2 cups of whipped cream. Finally, pop the tops back on and dust with powdered sugar. Voilà! You’ve just made some delightful gluten-free cream puffs that are sure to impress anyone lucky enough to taste them.
Gluten Free Cream Puffs Substitutions & Variations
If you’re looking to customize your gluten-free cream puffs, there are plenty of substitutions and variations to contemplate that can elevate your dessert.
You can swap the butter for coconut oil or dairy-free margarine for a dairy-free option. Instead of whipped cream, try using chocolate mousse or pastry cream for filling.
Experiment with different extracts like almond or vanilla to enhance flavor. For a fruity twist, add fresh berries or a fruit compote inside.
Finally, dust with cocoa powder or flavored sugar instead of powdered sugar to add a unique touch.
Get creative and make these puffs your own!
Additional Tips & Notes
Although gluten-free cream puffs are a delightful treat, there are a few tips that can help guarantee your success in making them.
First, make sure your ingredients are at room temperature, especially the eggs, to achieve a smoother dough. I recommend using a scale for precise flour measurement, ensuring you don’t end up with too much.
Also, let the puffs cool completely before filling them; this prevents sogginess. If you want a shiny finish, brush the tops with egg wash before baking.
Finally, experiment with different fillings—chocolate ganache or pastry cream can be delightful alternatives to whipped cream!