Why You’ll Love This Gluten Free Flour Blend Recipe
When it comes to baking gluten-free, this flour blend is a game changer.
I can’t tell you how often I struggled to find a mix that truly works until I discovered this recipe. It combines the perfect ratios to create a texture that’s light and airy, unlike many store-bought options.
I’ve baked everything from cookies to bread, and they always turn out delicious. Plus, it’s easy to make and store!
I love knowing I’ve a reliable blend on hand whenever I need it. Trust me, once you try it, you’ll understand why it’s become my go-to for gluten-free baking.
Ingredients of Gluten Free Flour Blend
When it comes to whipping up a fantastic gluten-free flour blend, the ingredients you choose can make all the difference. This blend isn’t only simple to throw together, but it also uses a mix of flours that work harmoniously to create a delightful texture. Trust me, you won’t want to miss out on this!
So, let’s dive right into what you’ll need to gather for this recipe.
Here’s the list of ingredients you’ll need:
- 1 1/2 cups sorghum flour
- 1 1/2 cups cornstarch (or arrowroot)
- 1 cup tapioca flour
- 1/2 cup bean flour (or chestnut flour)
Now, while it might seem like a lot of different flours, each one plays an essential role in the blend. For instance, sorghum flour adds a mild sweetness and whole grain goodness, while cornstarch and tapioca flour help give that light and airy texture we all crave in baked goods.
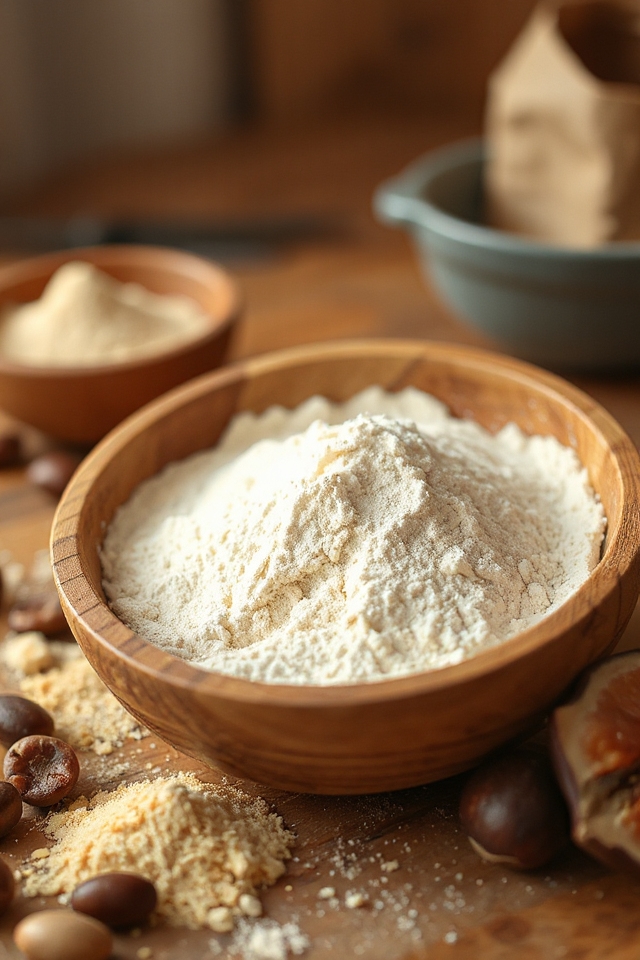
If you’re feeling adventurous, you can switch out the bean flour for chestnut flour, depending on your taste preference. Just keep in mind that if you’re using any nut or bean flour, it’s best to store the blend in the fridge or freezer to keep it fresh.
And don’t forget to let it come to room temperature before you start baking! You’ll be so glad you took the time to make this blend, and your baked goodies will thank you too.
How to Make Gluten Free Flour Blend
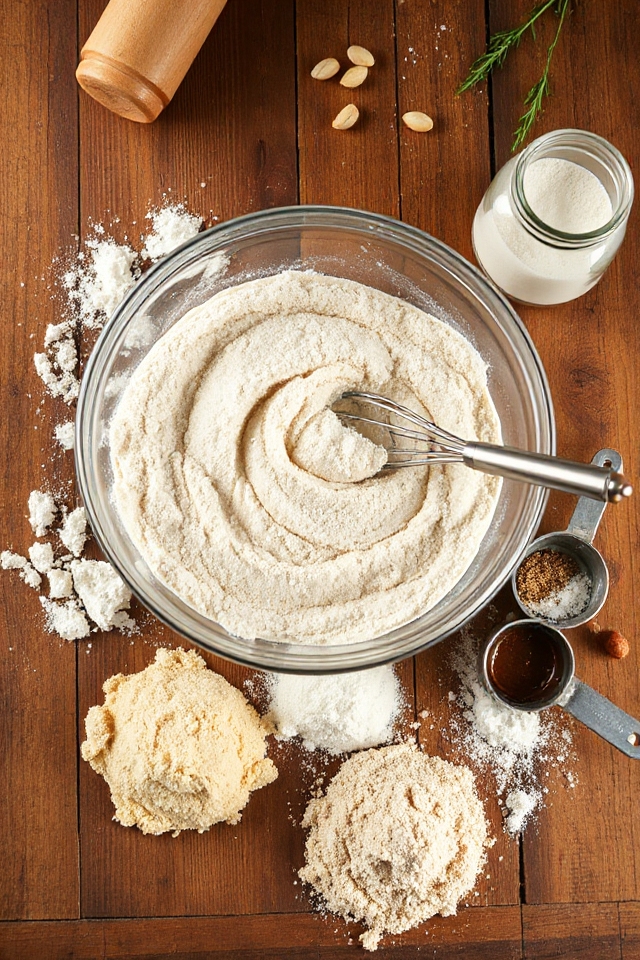
Making your own Gluten Free Flour Blend is easier than you might think, and it’s a fantastic way to whip up delicious baked goods without the gluten. To get started, you’ll want to gather your ingredients. You’ll need 1 1/2 cups of sorghum flour, which brings a lovely mild sweetness to the mix. Next, grab 1 1/2 cups of either cornstarch or arrowroot—both work beautifully, but I’ve found cornstarch to be my go-to for that light, airy texture we all adore in cookies and cakes.
Then, you’ll need 1 cup of tapioca flour. This stuff is like magic; it adds chewiness while keeping things fluffy. Finally, don’t forget your 1/2 cup of bean flour or chestnut flour, which can add a unique flavor twist.
Now that you’ve got everything ready, let’s blend these flours together. Grab a large mixing bowl—preferably one that won’t try to escape from your counter (seriously, I’ve had more than one bowl take a tumble). Start by adding the sorghum flour, followed by the cornstarch or arrowroot, then the tapioca flour, and ultimately, your choice of bean or chestnut flour.
Using a whisk or a large spoon, mix them together thoroughly. You want all those flours to become best friends, mingling and mixing until there are no clumps in sight. It’s like a little flour party in your bowl. Once everything is combined, it’s a good idea to transfer your blend to an airtight container. Store it in a dark, dry place—your pantry is perfect.
If you’ve included bean or nut flour, make sure to pop it in the fridge or freezer to keep it fresh. Just remember, before you go baking up a storm, let your flour blend come to room temperature. Trust me, it makes a difference.
And there you have it! You’ve just made a versatile Gluten Free Flour Blend that’s ready to take on your favorite gluten-free recipes. Whether you’re baking bread, cookies, or pancakes, this blend is sure to deliver the deliciousness without the gluten hassle.
Just imagine the sweet smell of fresh cookies wafting through your kitchen. It’s enough to make anyone feel like a baking superstar, even if you might still be in your pajamas. So, roll up those sleeves, and let’s get baking!
Gluten Free Flour Blend Substitutions & Variations
While experimenting with different gluten-free flour blends can be fun, knowing how to substitute or vary the ingredients can elevate your baking game.
For instance, if I’m out of sorghum flour, I’ll often replace it with brown rice flour for a similar texture. I also like to swap cornstarch for arrowroot when I want a lighter crumb.
If I’m looking for nuttiness, chestnut flour can replace bean flour beautifully.
Don’t forget that baking is a science, so I always adjust the liquid accordingly.
With a little creativity, I can make my gluten-free treats even more delightful!
Additional Tips & Notes
Experimenting with substitutions can be a great way to discover new flavors and textures in your baking. Don’t hesitate to tweak the blend based on what you have on hand.
If you’re using nut or bean flours, remember to store your blend in the fridge or freezer to keep it fresh. Always bring it back to room temperature before using to guarantee a smooth mix.
When baking, I find adding a bit of xanthan gum helps improve the texture. Finally, keep notes on your experiments; it’s fun to see what works best for your taste and dietary needs!